How to Decoupage Furniture With Fabric for an “Upholstered” Look!
Learn how to decoupage furniture with fabric with this detailed tutorial! It allows you to get the look of upholstery without the expense!
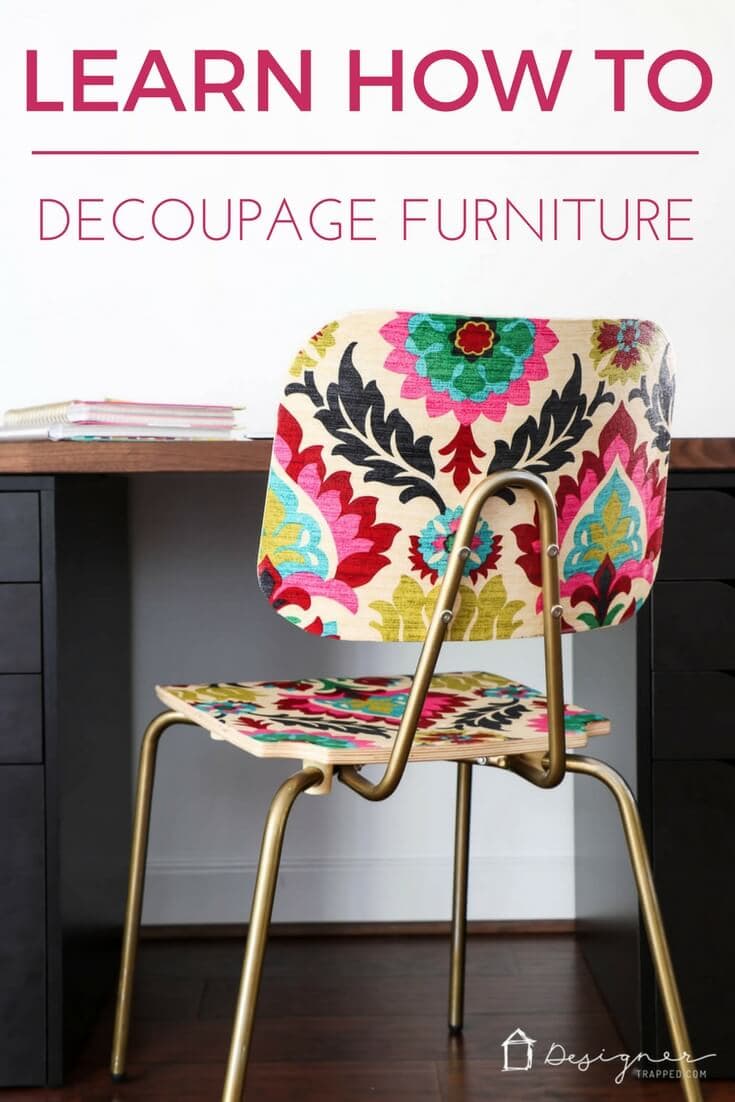
Hello lovely readers! Have you ever wondered how you can add some interest to furniture without painting it? I mean, paint is GREAT (I love it), but sometimes you want to do something other than paint furniture. Well, this tutorial my friends, will teach you how to decoupage furniture! This is one of my FAVORITE projects EVER. You can essentially “upholster” a wooden chair with fabric and Mod Podge!
If you have followed my blog for a while, you know that a while back I transformed an unused room in our house into a home office/craft room. I was searching for a desk chair and wound up falling in love with this gorgeous upholstered chair from One Kings Lane.

I so, so wanted it for my desk chair. Unfortunately, it cost $445 (which was closer to my budget for my entire room). SO, I had to get creative to achieve the look I wanted with a much smaller price tag. This post contains some affiliate links for your convenience. Click here to read my full disclosure policy.
How to Decoupage Furniture Tutorial
Materials Needed to Decoupage Furniture:
- Fabric (you can purchase the fabric I used here). The amount you need depends on the size of your chair and how you want to position the pattern. I used around 1 yard.
- A basic wood chair (I found the one I used for only $44.00–here is a link to the exact chair I used for this project). If I had more time, I would have checked out some consignment stores where I bet I could have found one for even less!
- Matte Mod Podge
- Spray paint (if desired–I spray painted the silver metal with gold spray paint)
- Exacto knife
- Foam paint brush
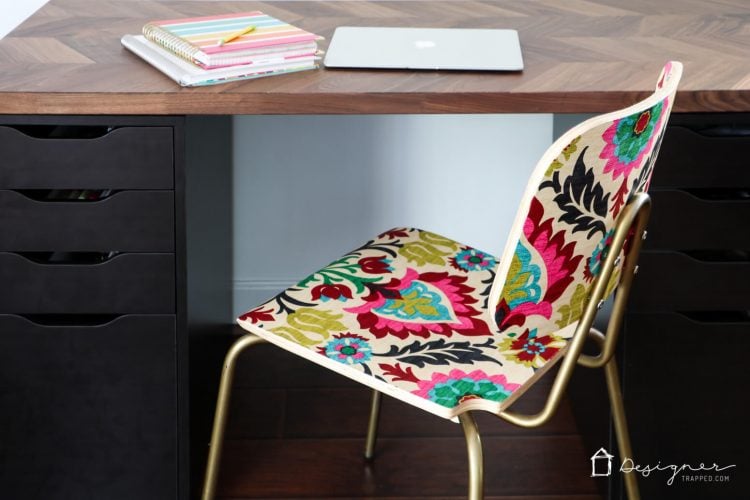
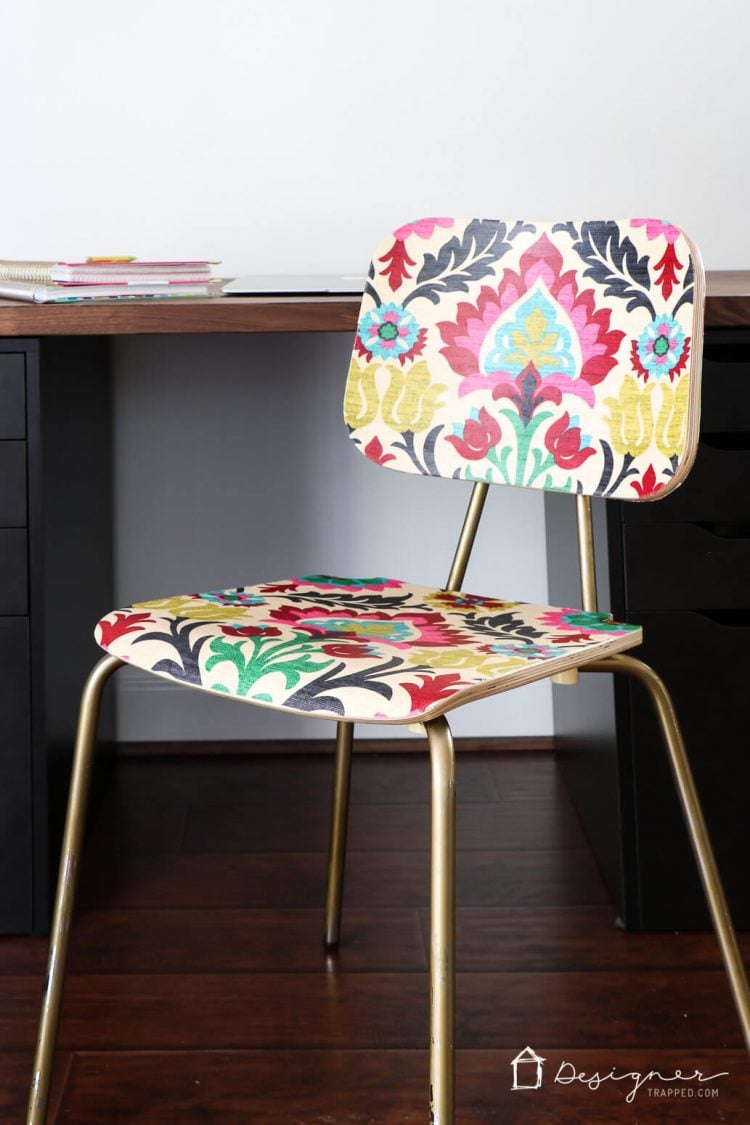
Armed with my fabric and my chair, I created THIS beautiful chair!
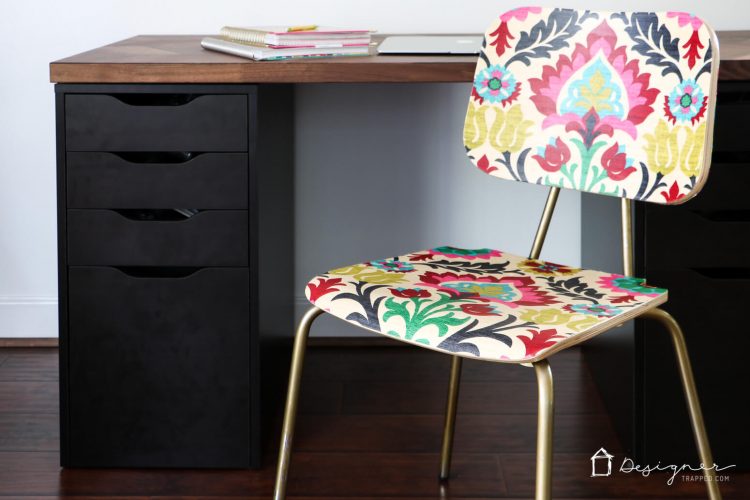
Now, let me tell exactly you how I did it :) You can also watch the video below (it will play after a short ad) for a really good overview!
Steps to Decoupage Furniture:
1) If you want to spray paint the legs of your chair, do it before assembling it.
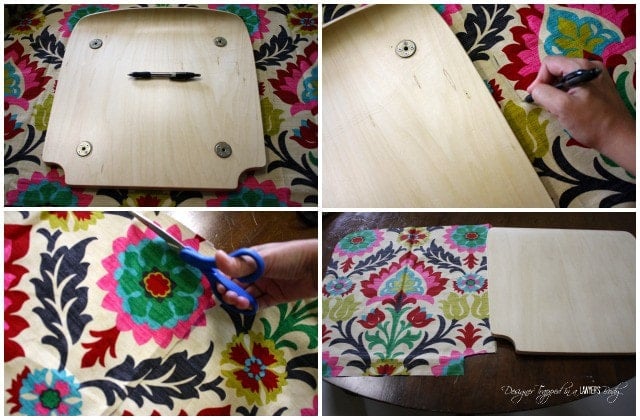
2) Next, lay your fabric on a flat surface. Place the seat of your chair on top of the fabric and trace the perimeter of the wood–be sure to trace about 1 inch beyond the wood surface, so that your fabric piece winds up being a bit larger than the seat itself. Using the lines you have traced as your guide, cut your fabric out.
3) Next, coat the surface of your seat with Mod Podge. Then lay your fabric on top and smooth out any wrinkles/bubbles. Once your fabric is in place, coat the top of the fabric with Mod Podge as well. Allow it to dry overnight.
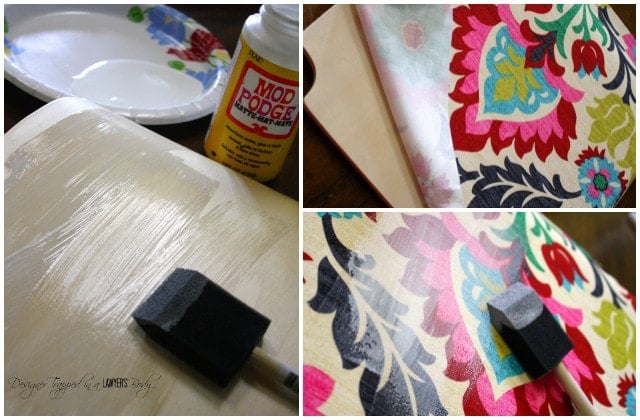
4) By the next morning, your fabric should feel nice and stiff, particularly around the edges of the wood. If it does, you are ready to trim off your excess fabric with a sharp craft or utlity knife. Use the edge of your chair as the guide and cut off your fabric as close to the edge of the wood as possible.
5) You may wind up with some stray threads of fabric. Trim them off as necessary and then coat the entire perimeter of your seat with Mod Podge. This should flatten any stray threads that cannot be trimmed AND prevent further fraying.
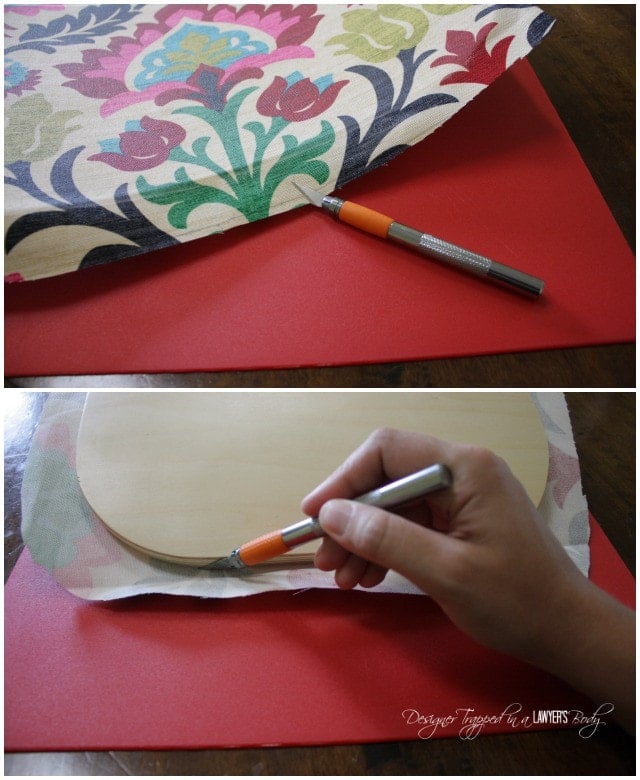
6) Repeat steps 2 through 5 for the remaining wood pieces of your chair.
That's it! For around $60, I have a totally custom chair at a FRACTION of the cost of my inspiration chair. I love, love, love it! Now that I have used the chair for a good, long while, I occasionally have to trim stray threads and have applied additional Mod Podge on one of the corners where the fabric started to loosen a bit. The spray painted legs do need to be touched u, but that's my fault for rushing the spray painting the first time around (I only applied one coat). The bottom line is that with that little bit of maintenance, my decoupage chair is holding up wonderfully and I sit in it a lot!
If you want to decoupage furniture for yourself, be sure to pin it for later :) And be sure to grab my free guide to give you tips for designing a room you love (possibly around your new mod podge chair!).
Original article and pictures take www.designertrapped.com site
Comments
Post a Comment